How to preserve makeup tools for crossdressing
Crossdressing usually requires a lot of makeup, to properly change the aspects of your face to those of the gender which you are trying to look like. This need for makeup also presupposes a huge need for makeup tools such as pencils and very specific brushes, which are used to maximize the effects of your makeover and provide you with an overall more convincing look. However, all of these tools also require proper storage, as well as some special care to preserve them in good conditions. Keep in mind that a ruined brush or pencil won't be as effective as a well preserved one would be, and replacements aren't so cheap either. So, the best way around is to preserve what you already have, considering it as an investment. That's what painters and artists do with their material, what musicians do to their instruments, and you can apply this same logic to crossdressers and their makeup supplies, if you consider crossdressing to be an art. With this concern in mind, I bring here a few tips for you to preserve and get the most from it.
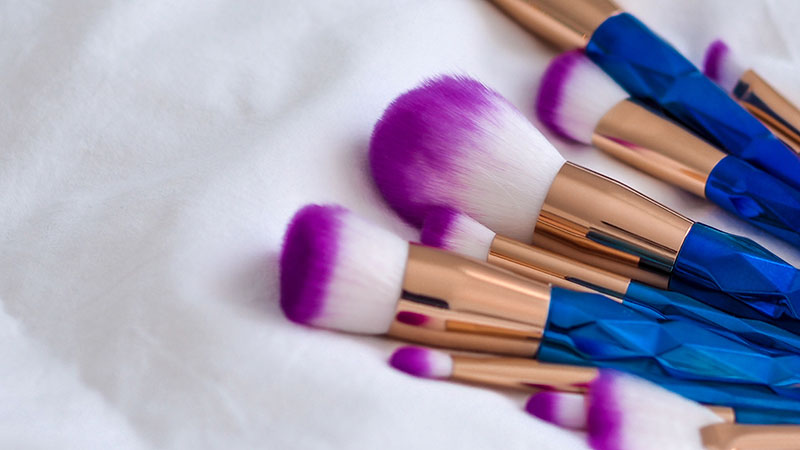
1- How often you should clean it
As you start to use a new brush, it will get dirty with time. The more you use, the faster or will get dirty, and they might also start to lose efficiency as well, because it starts to accumulate powder and other makeup stuff. Considering that the average amount of makeup, as well as how often it is applied, varies for each person, my suggestion is for you to wash and clean all your brushes every once a week, so pick the best day for you in your schedule and mark it as the day to clean up your makeup supplies.
2- Cleaning procedures
To clean your brushes more efficiently, without the risk of damaging them, try to do it gently and focusing on the tips of the brushes (where makeup and powder generally sits). Wash them with beard water and shampoo, softly rubbing out the excess makeup. Then, let the water run through the brush until it runs clean without makeup. Remember to do so with only one brush at a time, otherwise they might not get as clean as they should.
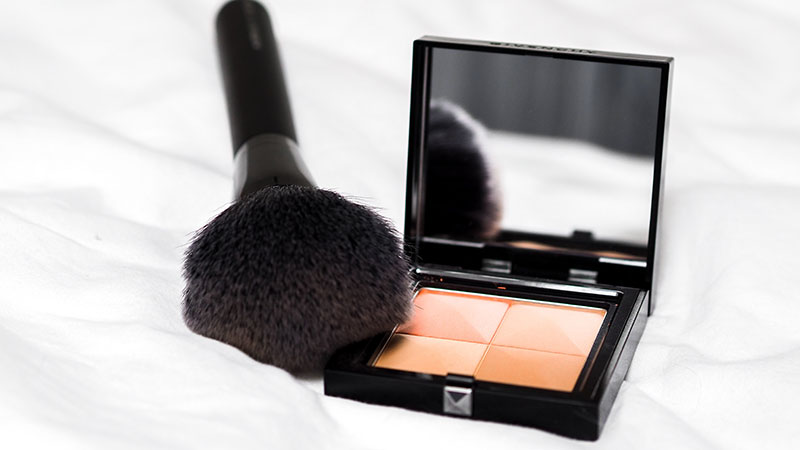
After you manage to remove all of the makeup from the brush, leave it to dry in a towel or a clean piece of cloth, but remember to lean the brushes In an angle, so the water goes downwards. This is necessary to both maintain the shape of the bristles (which are shaped for the specific purpose of the brush) and to prevent water from entering the glue joints (because the glue would get loose and your would probably lose some bristles).
Spray some isopropyl alcohol on the bristles every time after you use it, so you can get rid of germs. Also, even after you clean and sanitize your supplies, don't store them until they are completely dry. Otherwise, they could be affected by mold and harm your skin.
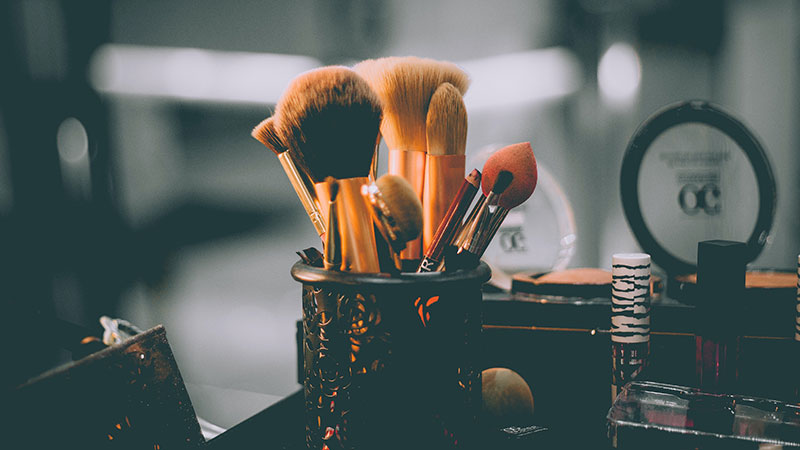
3- In terms of storage
Dust can harm both your brushes and your skin, so do what you can to prevent it from gathering on your supplies. The best approach would be to store everything in closed containers, such as ziplock bags or jars with lids. However, if you use your brushes very often and store them in an area that doesn't gather a lot of dust, you could still try some other options. For example, if you want to go for a more sophisticated approach, you could get some colorful brush organizers. They are quite useful, because they let the brushes stand up, which keeps the bristles safe.
4- The proper time to replace your brushes
Even if you are as careful as possible with all your stuff, remember that the time for you to replace your brushes will come. It's basically inevitable for them to lose efficiency with time, and if you notice that they no longer serve their purpose, you should consider buying new stuff. Generally, they last about from 3 to 5 months before losing all of its efficiency, but you might be able to preserve them for a little longer following all of these tips.
Written by Elise Wren